be curious, be caring

Getting Started for Learning-Partners

Step by Step

The following guide will step you through getting set up to use the selfdriven app.

Logging On

Logging on, setting up your profile etc.

Setting up the App.

Set up for your learning community.

Using the App.

Working with learners via connections.

Help...

For help email us @ team@selfdriven.foundation

In the items below, click the icon to see screenshots.

Learner Getting Started Guide .

What

Guides

...

Logging On

Logging on for the first time.

Securing Your User Account

Setting up MFA (TOTP) to protect your user account.

Editing Your Profile

You can manage parts of your profile, including a profile image.

Setting up a Project Template

Set up a template that can be cloned by a learner.

Working with Connections

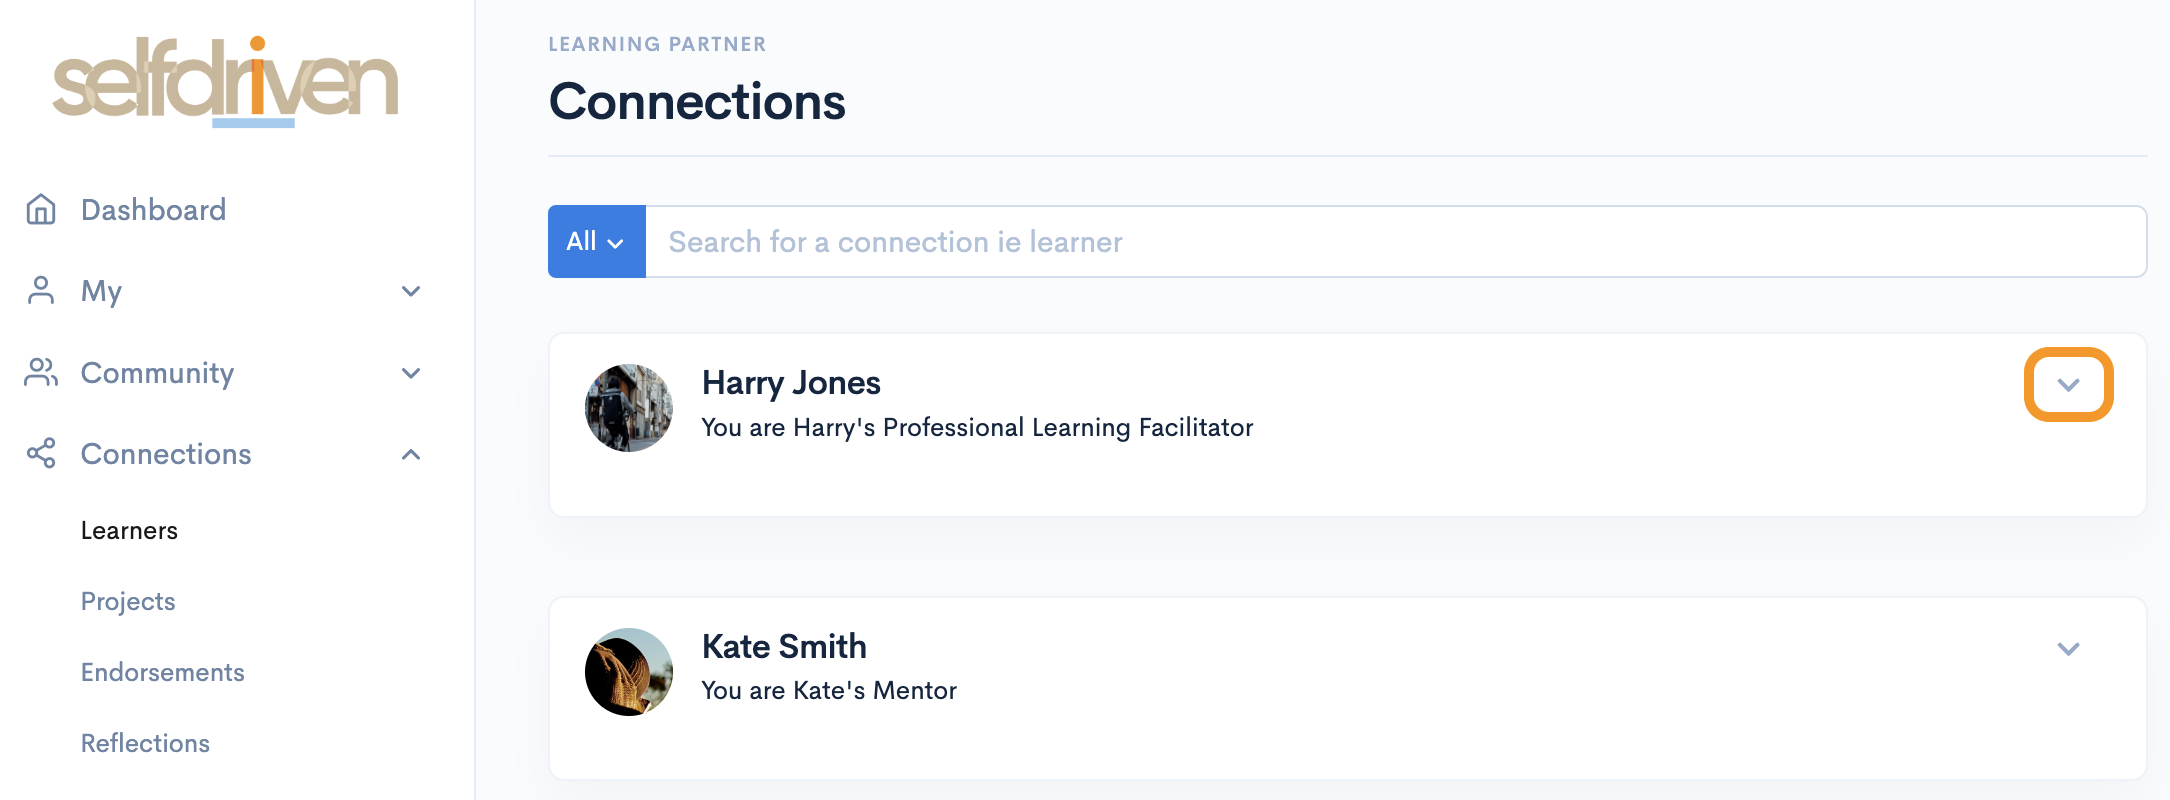
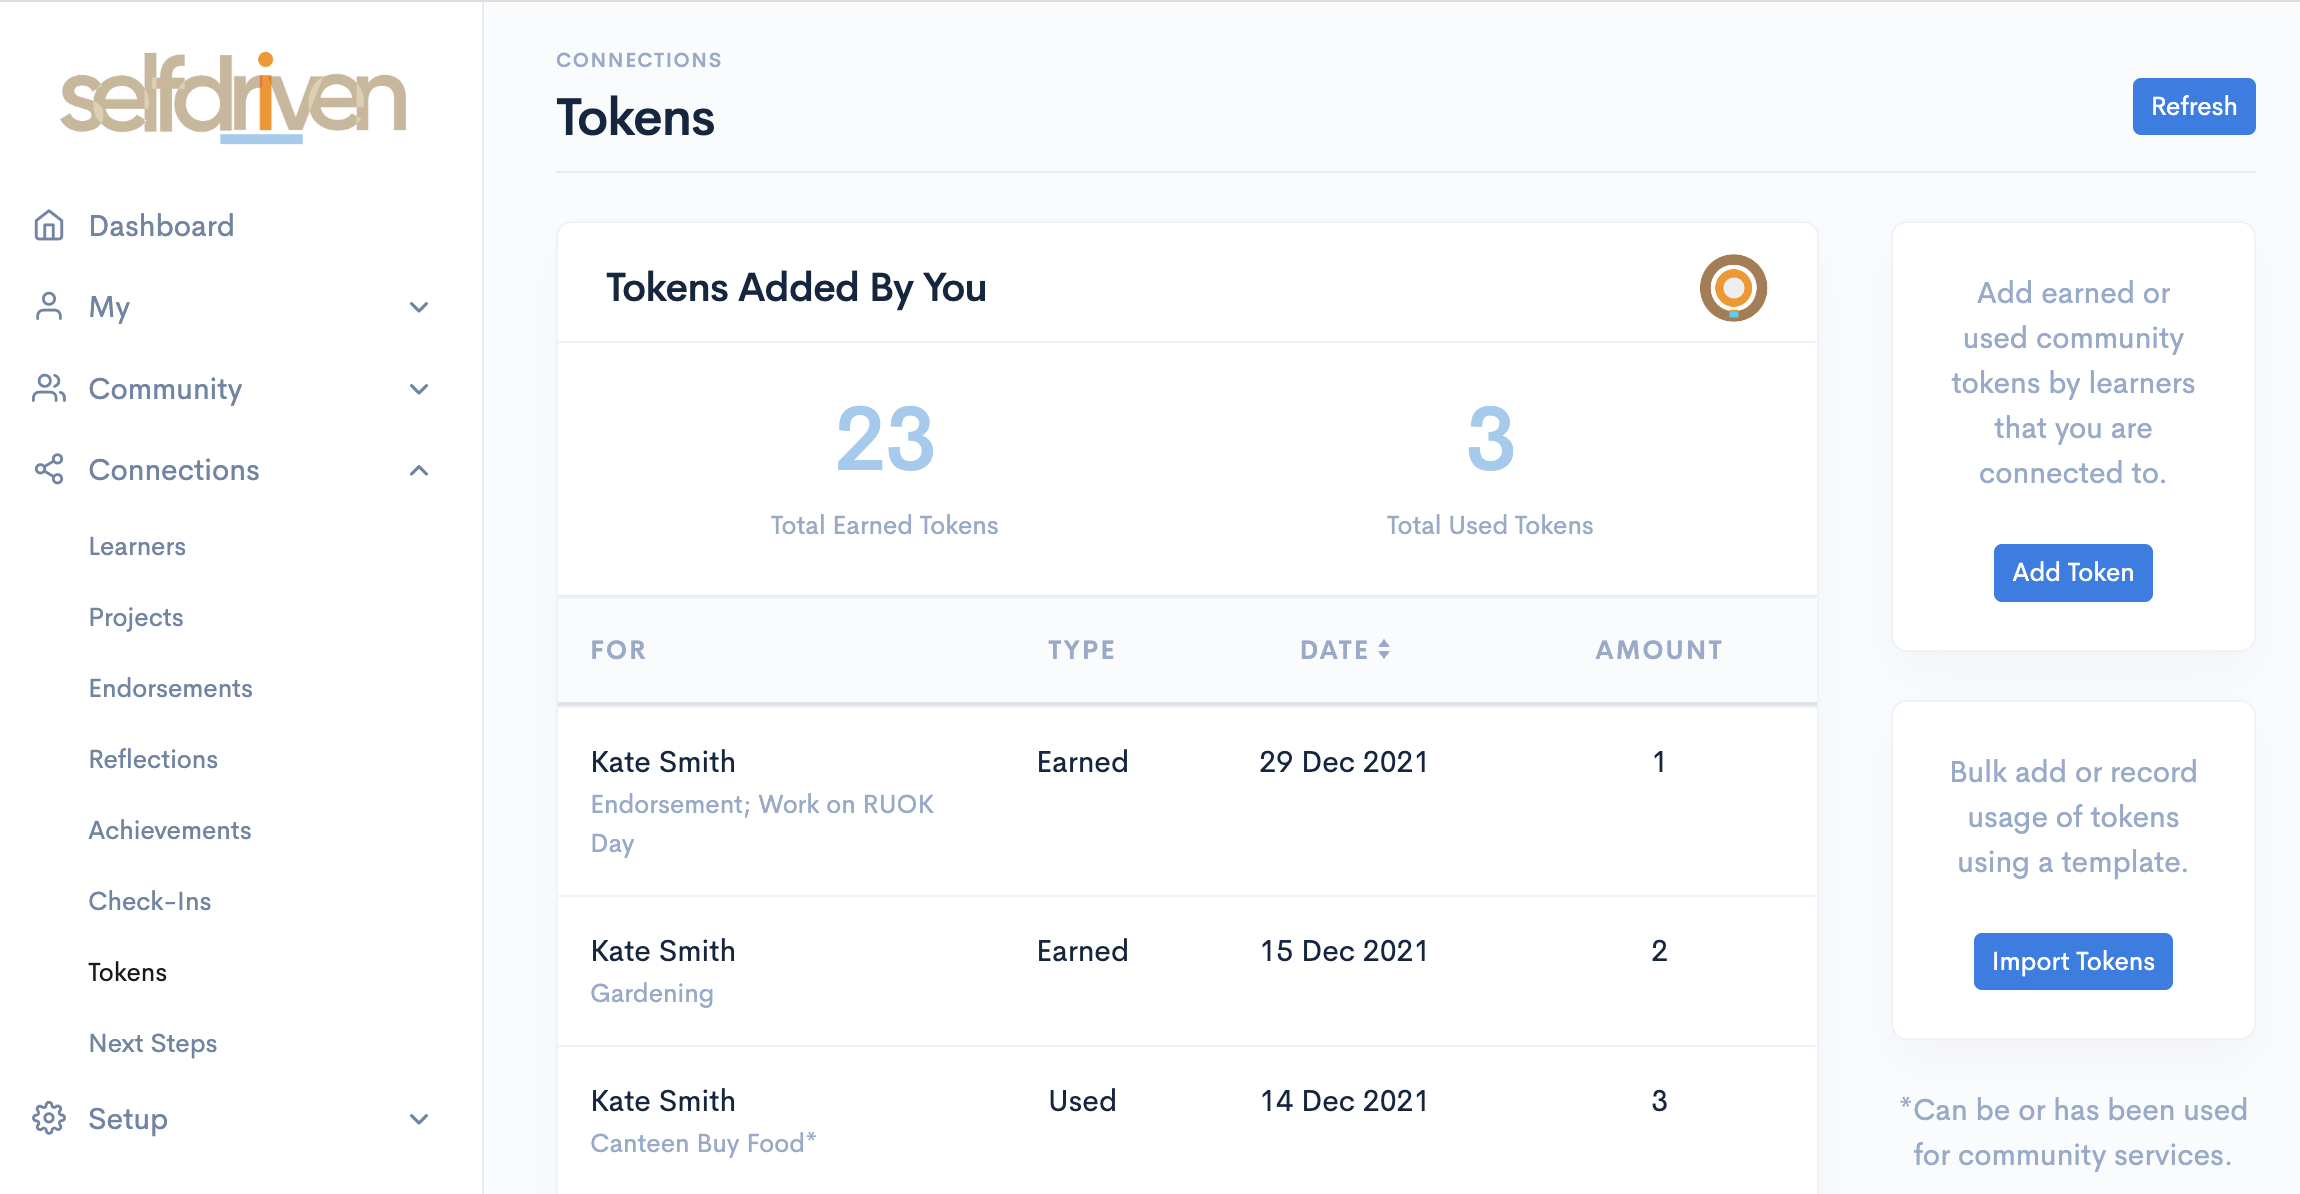
Managing and using connections between yourself and learners you are supporting.

Supporting Learner Projects

Monitoring, commenting and reflecting on learners and their projects.

Allocating Achievements & Skills

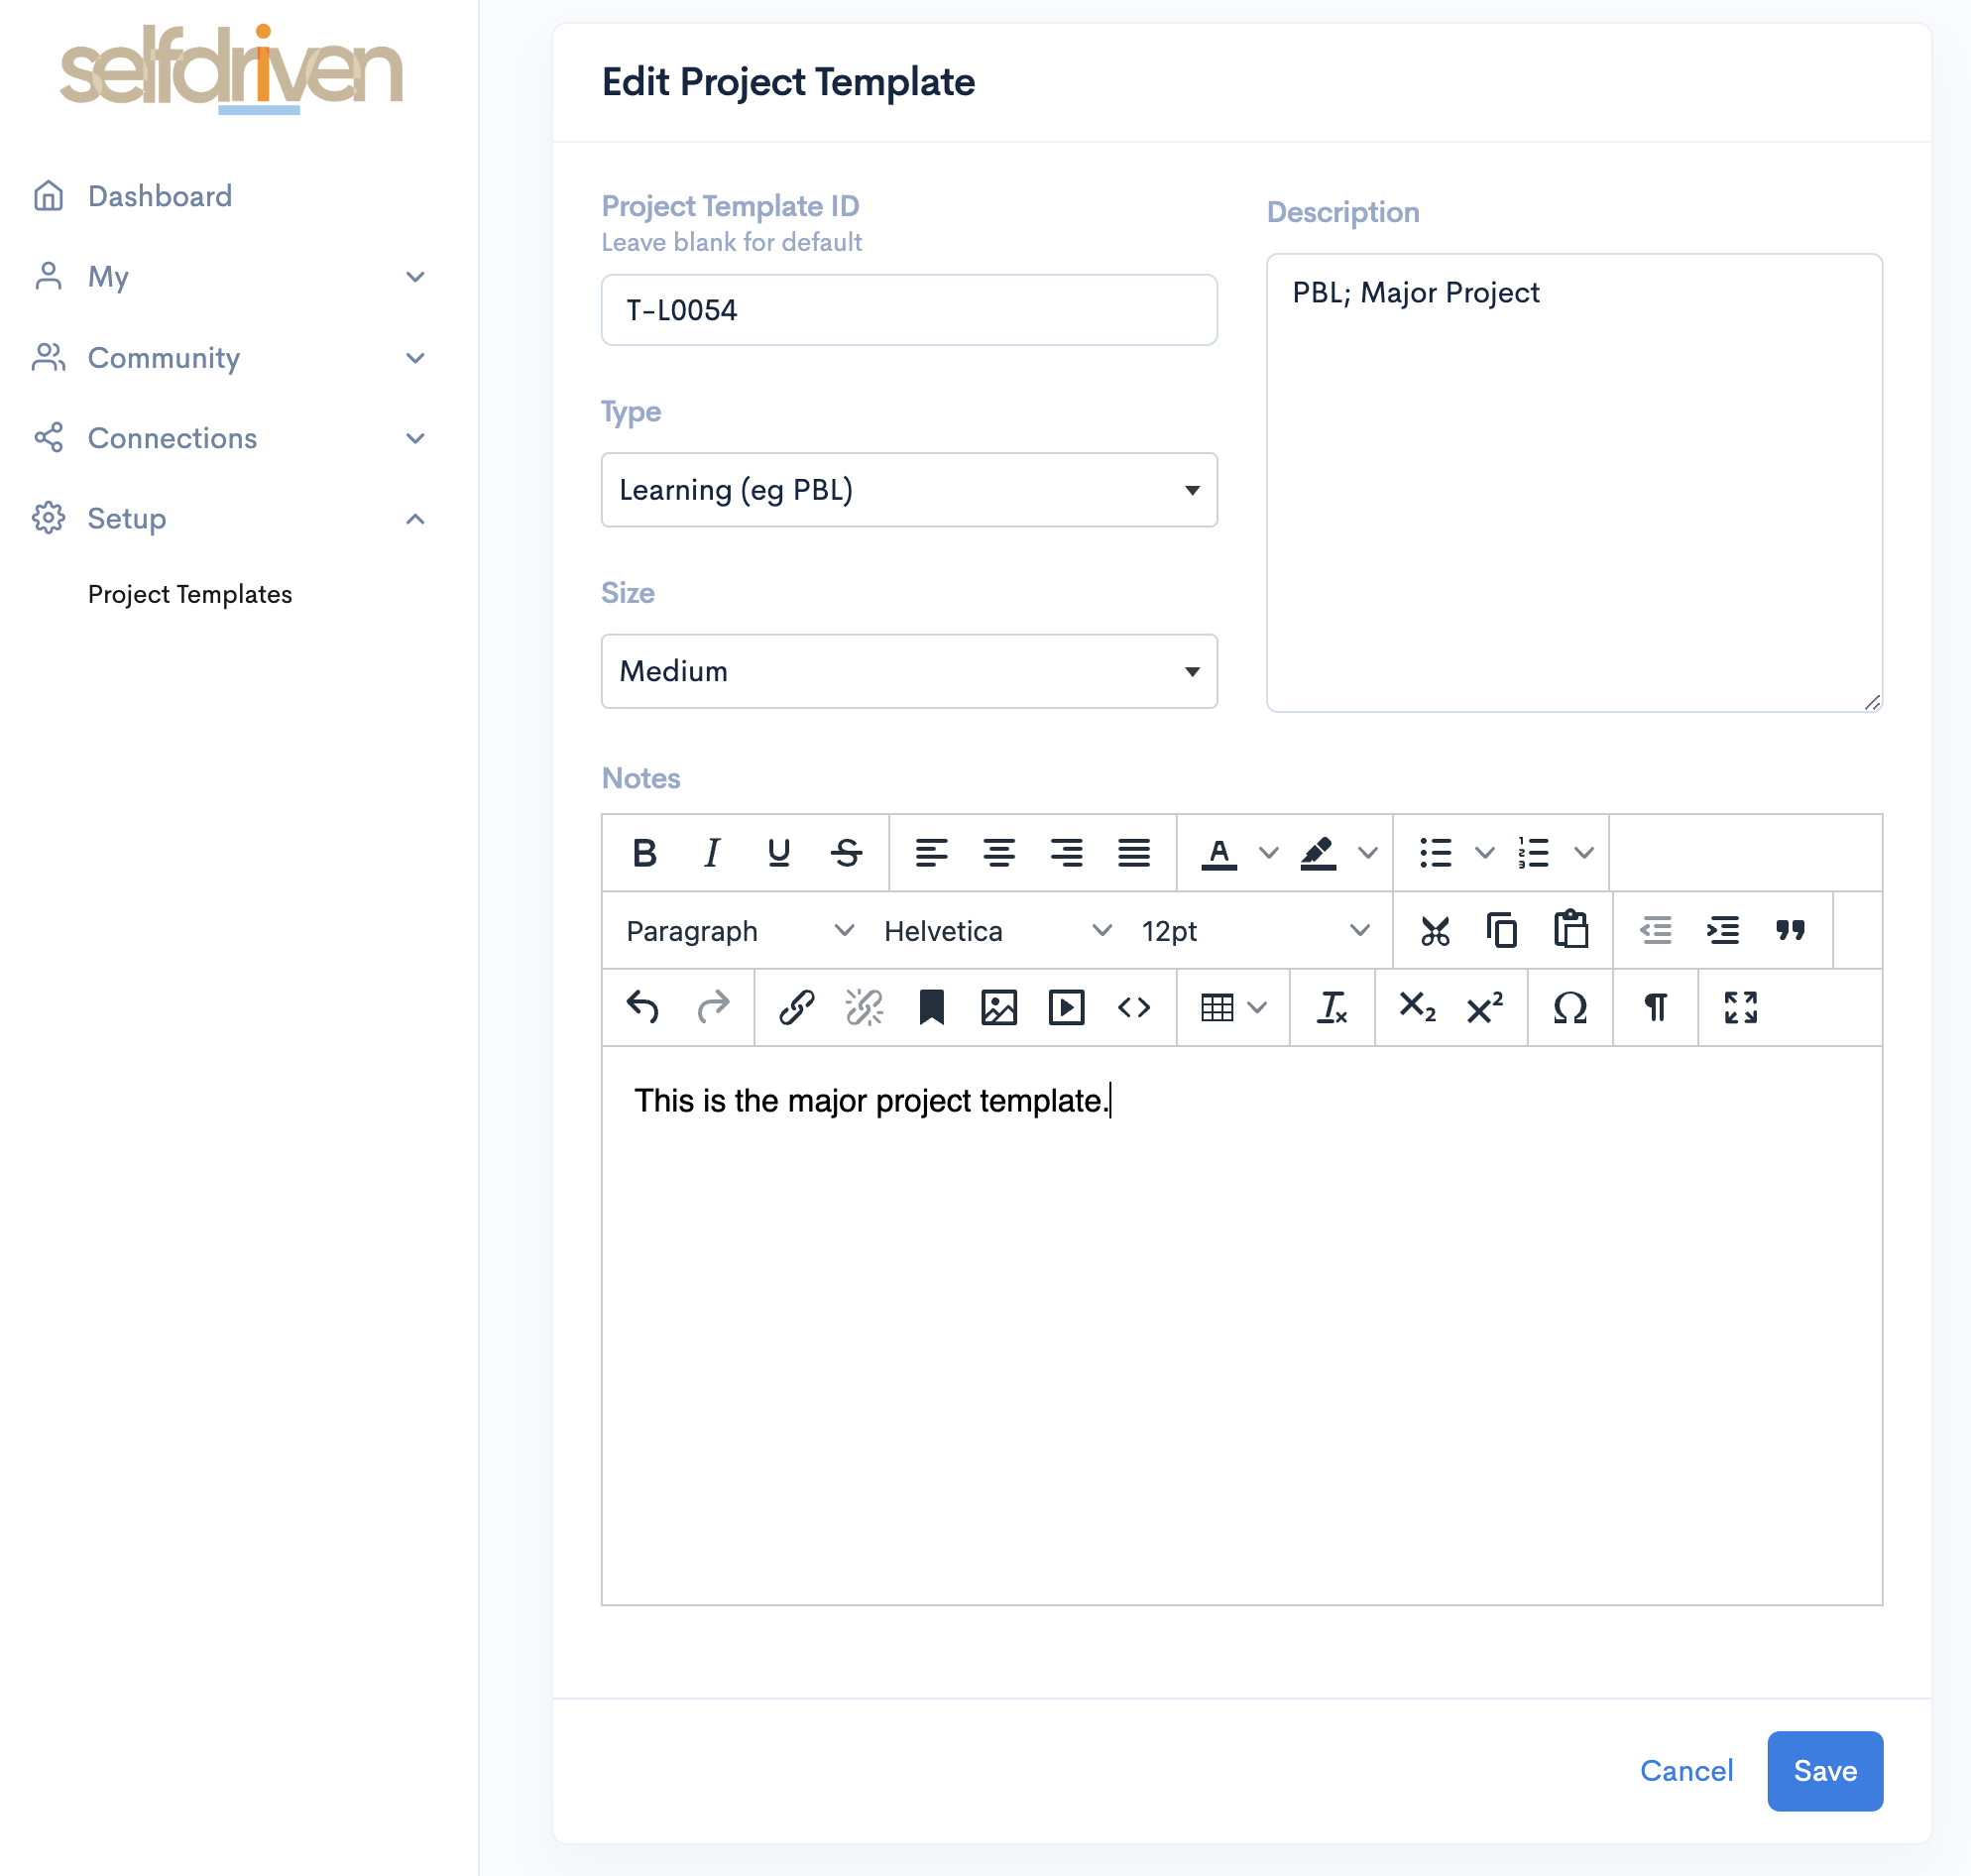
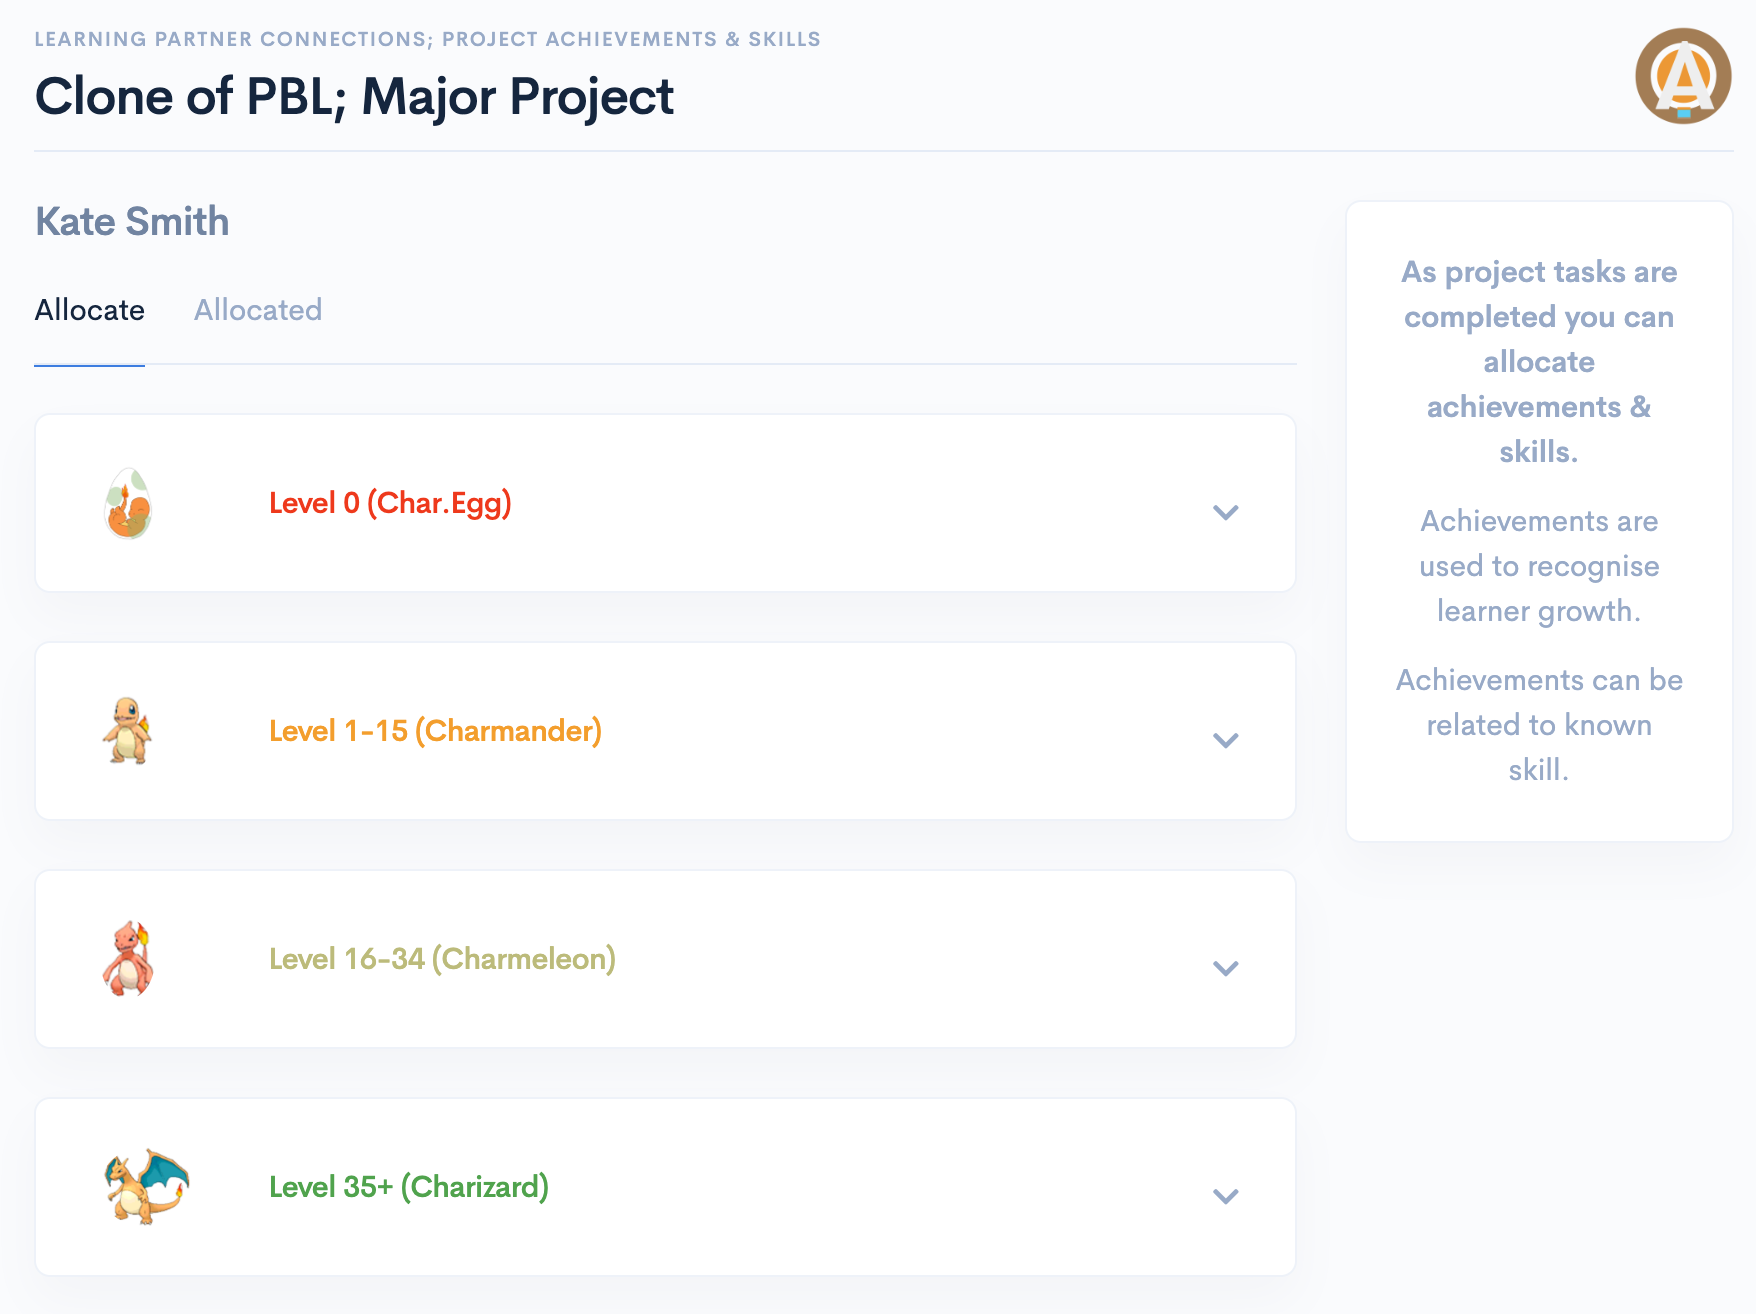
Validating project tasks and allocating achievements and skill capacities; Aware, Capable, Knowledgeable & Natural.

Reflecting on Learner Growth

Reflecting on and for learner growth.

Using Check-ins to Support Learner Growth

Periodic check-ins to collaboratively review growth and help learners work out where to focus their learning next.

Allocating Tokens to Learners

For learners engaged in learning and their learning community.

Helping Learners with Next Learning Steps

Helping with learner decision making about their next steps in learning.

Logging On

Assumptions:
  • You are part of the learning community using or piloting selfdriven.
  • You have been emailed a username and password by someone in your learning community.
1
Always check that you are on this website.
We suggest bookmarking it in your browser.
2
Enter the username and password sent to you and click Log On.
If you have forgotten your password then click the Forgot your password? link.
3
You are now logged on!

Securing Your User Account

1
The first thing to do is protect your user account using 2FA (two factor authentication).
We do this using One Time Passwords i.e. the 6 digit codes that change every 30 seconds.
If you already have Google Authenticator, Authy or an equivalent installed on your phone then you are all set.
If you are not sure which one to install, then we suggest installing Authy on your phone.
Once you are set up, you can move on to step two!
2
Now we need to enable 2FA for your account.
In the left hand menu click on My and then Profile.
Then scroll down and click Set up or reset 2FA.
Use your 2FA app (e.g. Authy) to scan the QR code and follow the instuctions.
3
Your account is now better secured.
All the usual "Don't share your username/password" advice applies!
If you trust the device you are logging on to, you can click Trust this Browser, then won't have to enter the code everytime you log on.

Editing Your Profile

1
You can manage parts of your profile.
In the left hand menu click on My and then Profile.
Click Edit Profile.
2
As a start, we suggest editing the following details:
  • About Me
  • Greatest Strength
  • Upload a Profile Image

Setting up a Project Template

1
In the left hand menu click Setup, Project Templates.
Then click the + button (top right hand corner).
Enter the details for the project and click Save.
2
Next step is to set up the project template definition file with the following sections.
  • Outcomes
    What the learner will get out of doing this project.
  • Rules
    Just because you have to have them.
  • Resources
    To help the learner complete the project.
  • Milestones & Tasks
    What the learner has to do and tasks you need to do.
  • Skills Gained
    The skills the learner will gain, including the levels they can achieve and any SDC tokens they could earn!
  • Template Info
    Who created the template and how it can be shared etc.
3
Next step is to attach the definition file to the Project Template.
Open the Project Template.
In the Files & Links section click the button.
Select your template Definition File, and it will automatically upload.
To view your Definition File, click the down arrow in the Information section.
Learners, that you are connected to, can now clone this Project Template.

Working with Connections

1
In the left hand menu click Connections and then Learners.
Search for a learner that you have a connection to.
Click the down arrow.
2
You can then click on a project or add:
  • Endorsements.
  • Reflections.
  • Achievements.

Supporting Learner Projects

1
In the left hand menu click Connections and then Projects
Click the down arrow for the project you want to view.
2
You can then:
  • View task progress.
  • Add reflections.
  • Allocate Achievements & Skills.

Allocating Achievements & Skills

1
In the left hand menu click Connections and then Projects
Click the down arrow for the project you want to view.
Click Allocate Achievements & Skills.
2
Select the skills level that relates to your observations of the Learner

Reflecting on Learner Growth

1
In the left hand menu click Connections and then Reflections
Click the + button
Add the reflection details and click Save.

Using Check-ins to Support Learner Growth

1
In the left hand menu click Connections and then Check-Ins.
Search for the check-in and click on it.
You can then view the check-in details, add notes and reflections.

Allocating Tokens to Learners

1
In the left hand menu click Connections and then Tokens.
2
You can then:
  • View task progress.
  • Add reflections.
  • Allocate Achievements & Skills.
  • Import tokens.

Helping Learners with Next Learning Steps

1
In the left hand menu click Connections and then Next Steps.
2
You can then:
  • View Next Steps applications.
  • Download each application or all applications.
  • See SDN token values.

Running a Proof-of-Concept

A guide to running a Proof-of-Concept Pilot within your learning community.

Getting On-Chain

Setting up your Cardano wallet etc

Skills

Explore the selfdriven Universal Skills Set.